Showing posts with label Colour Couture. Show all posts

Thursday, 1 August 2013

Bridal Nails (Allura - Nail Charms)


It's your special day. You have the perfect dress, styled hair... But wait...what about your nails?
Why not try adding Nail Charms to try and give a twist to the classic French Manicure? These Allura Nail Charms have a Nail Charm for anyone's preference. And the whole pack comes for as little as £1 from Poundland.!.!


I have used my two favourites which are the two bows, for this look. Now you don't have to do the same but I think it looks sooo cute.!.! Your going to also need a white and silver nail polish.!

1. Paint you nails White. (A couple of coats should do, to get that solid white colour)
2. With a Silver Nail Polish paint a line right at the end of your nail. (Almost imitating a French Manicure)
3. Let that completely dry.!.!.!.!
 
4. With a top coat add a dot to the area where your Charm will be.
5. Place the Charm onto the dot and hold it till dry.
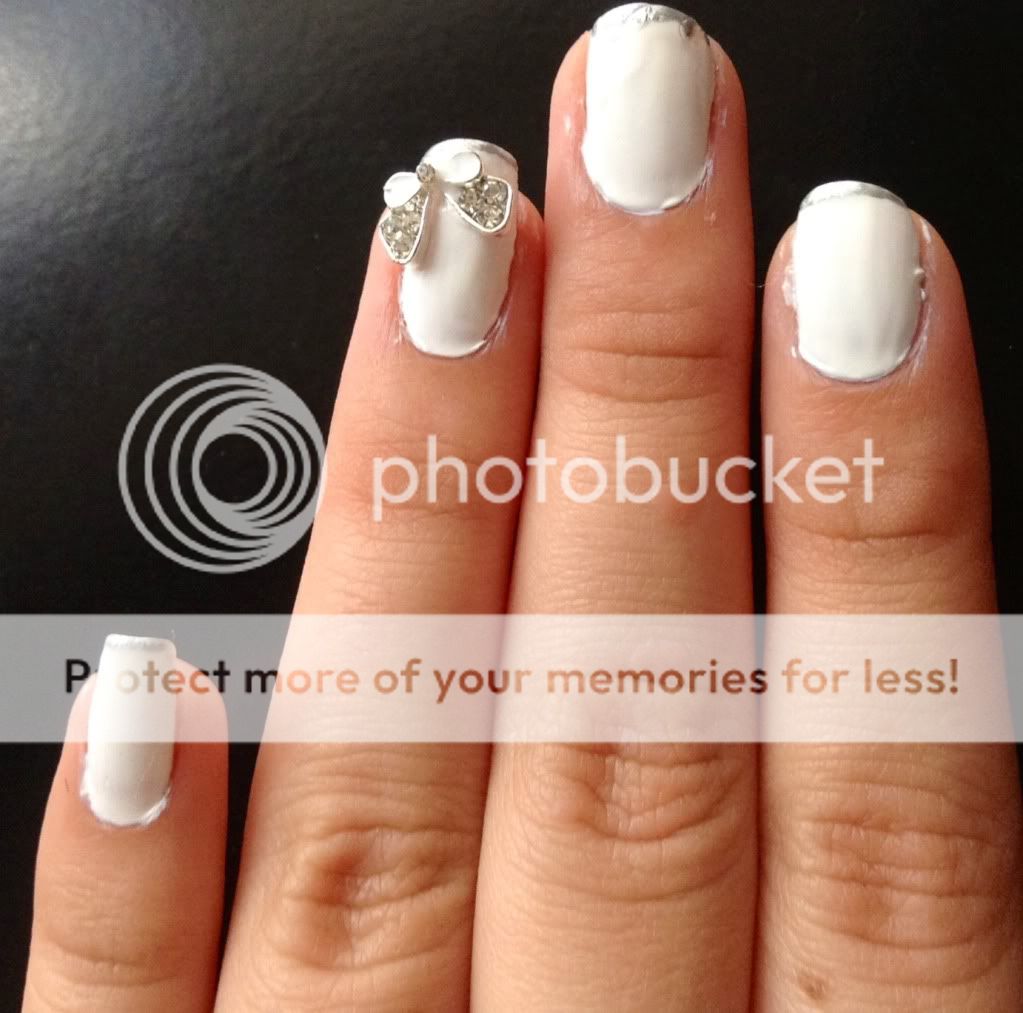
6. Ta-Daa.!.!.! Unique and fabulously cute nails.!!

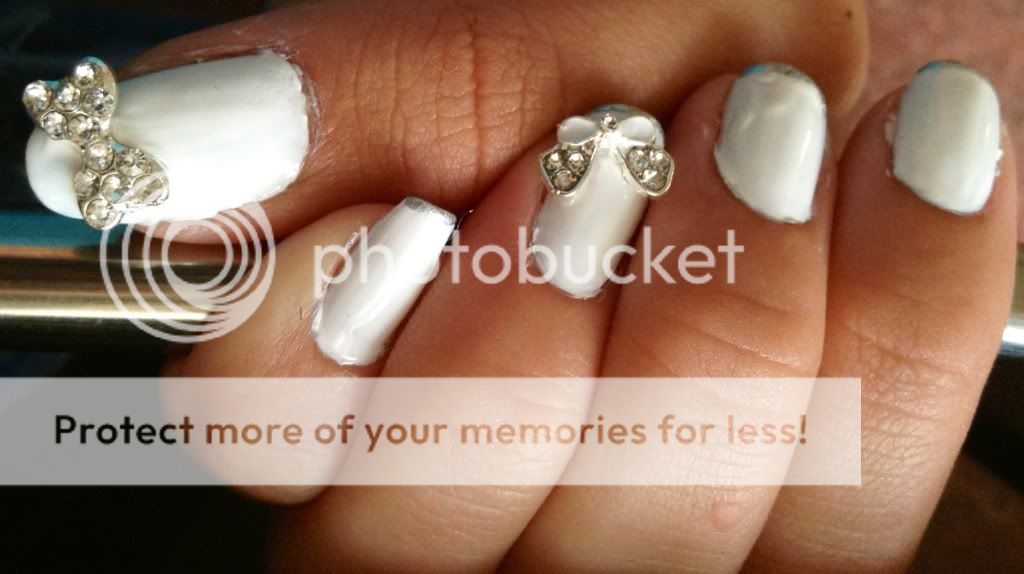
Due to the size of the Big Bow I decided to add it to the thumb and I used the smaller one on the Ring finger since the bow's special  it's White and Silver.!
So get creative and try these out.!!

P.S. Remember these charms will add weight to your nails and so it will be harder to do things....but I promise it's worth it.!

L.F.A. Xx

Sunday, 23 June 2013

Galaxy Nails


Yes. I admit. I'm a bit late on this trend since it was an August/Winter trend but I love it for any night out.!.


For this your going to need A tooth-pick (or a Nail Dotter if you have one) a Base Coat, Top Coat and a Black, Pink, Purple and White Nail Polish/Vanish. I chose a black nail polish that has a sparkle so that the nails would look more sparkly without glitter added on top!

  1. Paint your base colour onto your nails (I would make sure I use a base coat since we're using black)
  2. Then once dry paint the white nail polish onto a cotton bud or swab
  3. And pat the colour in a line onto the line.
  4. Do the same for the purple and pink colour. (Be messy and random with it it will add to the finished look)
  5. Its gonna look a bit messy but don't be disheartened it'll look cool in a sec.
  6. Then with a toothpick (or Nail Dotter if you have one) add little dots (almost to form constellations)
  7. Once you let that dry, Pop on a top coat, to make it look glossy and shiny!
and Voila.!. Your done.!.

P.S. I hope you guys try this out on yourselves.!.

L.F.A. Xx

Thursday, 6 June 2013

Aztec Pattern Inspired Nails

While studying for exams may be taking all of my free time, I still try to find leave some for myself. And while thinking of what to do I found myself being inspired from the top I was wearing, and created these Aztec Nails.!.

These did take a lot of concentration and time to get the shapes I wanted and to be honest I almost gave up before the black outline, because it looked really weird without it...

Primark mens top for £2.50
My inspiration came from this top that I bought ages ago. I just fell in love with all the shapes and colours. I decided to only do the odd shapes on my nails for a minimalist look to it! Unfortunately I didn't have that exact blue or a yellow and so instead I went for an Orange and a Lighter Blue.

17 - Bolt from the Blue, Maybelline - 554 Lavender Lies, L.A. Colors - Orange & Black,
Colour Couture  
- Top Coat + A toothpick.
So try to paint these nails too! Just have fun with it. Try loads of different shapes and colours! 

P.S. Feel free to let me know the designs you did! I would love to see others try these nails too!


L.F.A. Xx